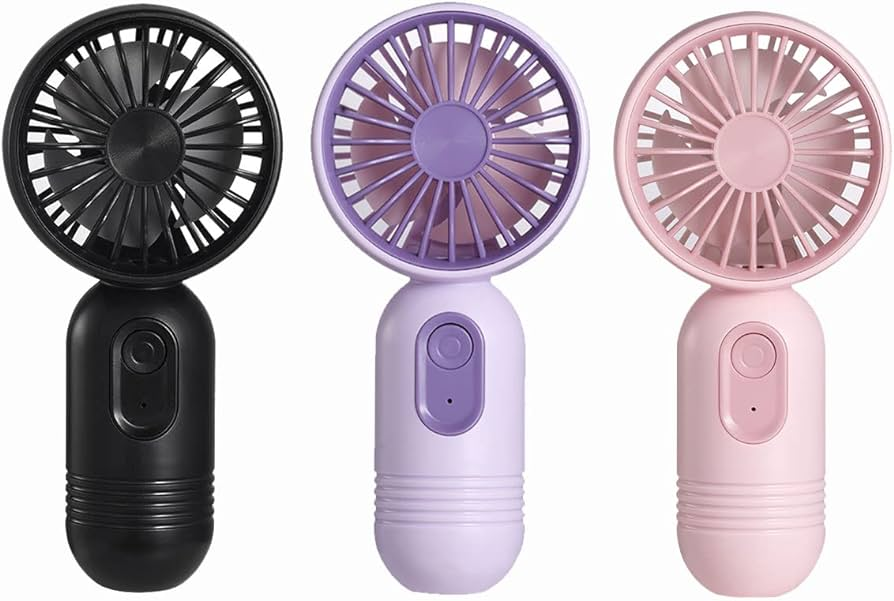
Are you a fan of your mini fan? If so, keeping it in top-notch condition is essential for optimal performance and longevity. Just like any other appliance, portable fans require regular maintenance to ensure they keep you cool and comfortable when you need them most. In this blog post, we will dive into the world of mini fan maintenance, sharing valuable tips on how to clean, troubleshoot common issues, choose replacement parts wisely, store properly, and ultimately prolong the lifespan of your trusty companion. Let’s breeze through these maintenance tips together!
The Importance of Proper Maintenance
Proper maintenance for mini fans is crucial to ensure they function efficiently. Regular upkeep not only helps in keeping the fan clean and free from dust but also contributes to its longevity. Neglecting maintenance can lead to reduced airflow, increased noise levels, and even potential malfunctions down the line.
By dedicating a little time to care for your mini fan, you can prevent issues before they arise and enjoy uninterrupted cooling whenever needed. A well-maintained fan will provide consistent performance, circulating air effectively in your space without any hiccups. Plus, taking care of your mini fan demonstrates appreciation for the relief it brings on hot days or stuffy rooms.
In essence, treating your mini fan with proper maintenance is like giving it a breath of fresh air – ensuring it continues to serve its purpose efficiently and reliably for years to come.
How to Clean and Disinfect Your Fan
Cleaning and disinfecting your mini fan is essential to ensure it operates efficiently and keeps the air in your space fresh. Start by unplugging the fan and removing any batteries if applicable. Use a soft, dry cloth to wipe down the exterior of the fan, removing dust and grime that may have accumulated.
For more thorough cleaning, use a damp cloth with mild soap or a gentle cleaner to wipe down the blades and grill of the fan. Be careful not to get any moisture into the motor or other internal parts of the fan. Allow all surfaces to dry completely before reassembling your mini fan.
To disinfect your mini fan, you can use a mixture of water and vinegar or an alcohol-based solution on a cloth to wipe down all surfaces. This will help kill any bacteria or germs that may be present on your fan.
Regularly cleaning and disinfecting your mini fan will not only keep it running smoothly but also improve air quality in your room.
Tips for Keeping Your Fan in Good Condition
To ensure your mini fan stays in top-notch condition, regular cleaning is key. Start by unplugging the fan before you begin any maintenance tasks. Use a soft brush or cloth to remove dust and debris from the blades and grilles. For stubborn dirt, a gentle swipe with a damp cloth can do wonders.
Pay attention to the motor area as well, ensuring it’s free of obstructions that could affect performance. Lubricating the motor according to manufacturer guidelines can also help prolong its lifespan. Additionally, check for loose screws or parts that may need tightening to prevent rattling noises during operation.
Don’t forget about the power cord – inspect it regularly for any signs of wear or damage. Keep your mini fan away from moisture or extreme temperatures to avoid potential electrical hazards. By following these simple tips, you can enjoy cool breezes from your portable fan for years to come!
Troubleshooting Common Issues with Fans
Is your mini fan acting up? Here are some common issues you might encounter and how to troubleshoot them:
1. Fan not turning on: Check if the batteries are properly inserted or if the power source is connected. Replace old batteries or try plugging it into a different outlet.
2. Fan making unusual noises: Clean the fan blades as dust accumulation can cause rattling sounds. Tighten any loose screws that may be causing vibrations.
3. Weak airflow: Ensure that the fan blades are clean and unobstructed by debris. Adjust the speed settings to see if it improves airflow.
4. Overheating: If your mini fan feels excessively hot, turn it off immediately and let it cool down before using it again. This could indicate an issue with the motor or internal components.
5. Erratic behavior: Reset your fan by unplugging it for a few minutes before plugging it back in. Sometimes a simple restart can resolve minor glitches.
Choosing the Right Replacement Parts for Your Fan
When it comes to keeping your mini fan in top condition, choosing the right replacement parts is crucial. Whether it’s a damaged blade, a worn-out motor, or a faulty power cord, having the correct replacement components can make all the difference in prolonging your fan’s lifespan.
Identify the specific part that needs replacing by carefully examining your mini fan and pinpointing the issue. Look for any signs of wear and tear or damage that may be affecting its performance.
Next, ensure that you purchase replacement parts that are compatible with your mini fan model. Check the manufacturer’s guidelines or consult with a professional to guarantee you get the right fit for seamless installation.
Quality matters when selecting replacement parts for your mini fan. Opt for reliable brands and products to ensure durability and optimal performance once installed.
By taking the time to choose the right replacement parts for your mini fan, you can extend its longevity and enjoy continued use without compromising on efficiency.
Best Practices for Storing Your Mini Fan
When it comes to storing your mini fan during the off-season or when not in use, there are a few best practices you can follow to ensure its longevity and performance. Make sure the fan is completely dry before storing to prevent mold and mildew growth. Wipe down all surfaces with a clean cloth to remove any dust or debris that may have accumulated.
Consider storing your mini fan in its original packaging or a protective case to shield it from potential damage while not in use. This will also help keep all parts together for easy access next time you need it. Avoid exposing the fan to extreme temperatures or direct sunlight during storage as this can affect its internal components.
If possible, store the mini fan in a cool, dry place away from moisture and humidity. This will help prevent rusting of metal parts and prolong the overall lifespan of your portable fan. By following these simple best practices for storing your mini fan, you can ensure it stays in top condition for whenever you need it next!
Conclusion: Enjoying a Longer Lifespan for Your Mini Fan
By following these mini fan maintenance tips and incorporating proper care into your routine, you can ensure that your portable fan stays in top condition for a longer period. Regular cleaning, disinfecting, and troubleshooting common issues will help prolong the lifespan of your mini fan. Remember to choose the right replacement parts when needed and store your fan properly when not in use. By taking these simple steps, you’ll be able to enjoy cool air wherever you go with a well-maintained and reliable mini fan by your side.
Buy a Mini Portable Fan for yourself!
Stay tuned only on QAWire for more such content


